High school project – Board Games

This slideshow requires JavaScript.

My teenager always arrives home with homework projects that usually require a fast forward button as panic hits and realization dawns that it is the last minute and the due date looms.  This involves the entire household rearrangeing schedules and the dining room table is held hostage until the last layer of paint and glue is applied and dried.

Just recently I was surprise attacked with a ‘Game Board project’. In keeping with the spirit of art I thought that it warranted a blog as many other parents might need a few ‘shortcuts’ to aid their latent teenagers project as it gasps it’s last breath before the deadline hits.

When I was little my brother and I would make up board games for fun. With cardboard, tape, construction paper, dice and money borrowed from another board game it was simple, inexpensive  and fun. My mother could never figure out what happened to the dice from her yahtzee game. ummmm I still think its a mystery to this day.

Nowadays with duct tape you can make anything. In one of the three board games above my teenager constructed the board from  a piece of canvas painted with several layers of gesso and once dried applied black duct tape for roads and yellow duct tape for the yellow lines (this can also be a great back drop for a city or town for toy cars). I helped make little suitcases out of duct tape and she sculpted little tourists out of sculpy for the tokens. The money was found on a website and the template downloaded onto a file that you can edit and alter to add the ‘faces’ in the center oval. You can google ‘play money’ or for a list of sites go here:
 http://www.webcrawler.com/webcrawler303/ws/results/Web/print+out+play+money/1/417/TopNavigation/Relevance/iq=true/zoom=off/_iceUrlFlag=7?_IceUrl=true

or this site was free and worked for our purposes:
http://www.kidsmoneyfarm.com/templates.htm

adding faces to play money tutorial video:
http://www.printablekidsplaymoneytemplates.com/adding-faces-using-realistic-money-images/

and another site with realistic money was here:

http://www.moneyinstructor.com/wsp/playmoney.asp

Here is some tips for Board game projects:

Use 2 pieces of flat cardboard the same size and tape together with duct tape so that it will fold close.
I prefer to use canvas as it rolls up easily and takes up less space. You can use velcro tape to put on the game board to attach the parts –such as a spinner. You can sculpt the tokens with sculpey and oven bake clay and paint with acrylic paint. I made a trophy for the ‘winner’. (see photo above).

For the board game you can use a pizza box or a drawstring bag or shoebox that running shoes are packaged in.
Game Mechanics /specific goals, win conditions, and a set of rules.

Think of the concept :one project was similiar to a book review so the cards were titled chapter cards and you needed to collect the chapters in order from 1 to 14 and the tokens were the characters of the book.  Any idea will work -I often get inspiration from books, history or TV shows for example be a venture capitalist and generally base it on the tv show ‘dragon’s den’. 
keep rules simple and make them good. The board needs to be colorful and interesting. Delete unneccesary accesories such as dice or cards.
Always have a starting point and a place to collect things needed to finish the game such as a pay space if money is included in your game. Decide on the design of the spaces and the trail that your players will take as they play your game. Add events such as collecting, paying, buying, selling, going backwards or forwards, building or adding, for instance in monopoly you collect properties and ‘go to jail’ . You can purchase game parts such as spinners and dice (6-32 sides) at hobby stores.  In one of the school projects my teenager called it ‘Homework’  and the object of the game was to collect necessary things before graduation such as a drivers licence, a job, a car, amount of money, a report card ,1A, 2 b’s and 3 c’s .
We created the card graphics by using family photos and that read : when coming to a 4 way stop who has the right of way? If you get this question correct move ahead 2 spaces if not lose your license (a coveted item that was more easily lost than gained).
or, Ask any opponent any question that would be on a driver’s exam If they are incorrect select any of their items – If they are correct they get $1 and keep all their items.
Your facebook page says you are in a relationship – uh you forgot to let your mom know – go to nearest ‘grounded’ space.
Bad hair day you enlist your friend to fix it – pay every player 1$
You tell your teacher that your dog ate your homework. Lose a turn for lack of creativity.
Wardrobe malfunction (feel free to insert tsk tsk and high pitch tone in voice) everyone laughs at you but the teacher loves it! You hit rock bottom on the popularity scale go back 3 spaces.
You hacked the school computer ‘suspended’ again miss 2 turns
You buy a rap song on itunes with such poor symbolism your english teacher cringes – lose a letter grade or pay $2 x roll of die.
Make the cards funny and interesting.
 (see above photo ‘busted’ and ‘aces’ cards ) 

You can also use things made of paper such as a fortune teller instead of a spinner or dice. Household items such as minute timers, key chains or lego blocks are useful for items used in the game.
Dice dueling where the players can roll to see who wins a competition for $, items to collect, cards, mystery cards, property spaces etc.

Use a creative name for your game project that is catchy and short.

Designing board games involves creativity, organization, critical thinking, puzzle sovling, and illustrative abilities with simple old fashioned duct tape, cardboard and stolen property from mom’s yahtzee game. Add some oven bake sculpy and your good to go.
Oh what my brother and I could of done if only we had had oven bake sculpy!

Photolithography on Clay

Here is a project that I thought might interest you as it intrigued me. I sketched a drawing of my sister for a book cover – she loves books and I decided to make her a journal.  I have always wanted to put my drawings onto clay and this method allows for an (almost) seemless image. Sketching on clay is difficult but if you sketch onto paper – then transfer the image onto clay and kiln fire the piece you have essentially a permanent record of your drawings.

Here is the method that I have been experimenting with over the last several weeks:

Step One : Make the Ink, photocopy image, Roll out clay slab
In a small container add 3 parts linseed oil to 2 parts mason stain – stir for about 10-15mins.
Let mixture stand overnight for best results

The mason stain is toxic so PLEASE wear rubber gloves and a dust mask for SAFETY.
Photocopy image on a black and white xerox copier – ink jet will not work as it is the toner that is the ingredient that allows the image to transfer. I recomment copying in reverse (negative) so the image will be right side or positive when place down on the clay.
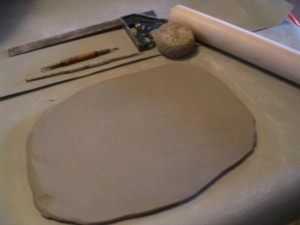
Roll out slab and let sit until leather hard – overnight.
Take a break and start again in the morning….


Step two: list of items required
On a table place 2 pieces of glass – one for your image and one for the ink
2 sponges
In 2 bowls fill with water one large and a smaller container
In the large container of water put a small drop of gum arabic
Have on hand premixed ink, brayer, papertowels, spoon to mix ink, photocopied images and leatherhard clay slab.

As you can see in this photograph the sketch is photocopied reversed so that it will be correct when finished.

Next place about a tablespoon of GUM ARABIC onto the glass set out for the image AND onto the other piece of glass put a line of INK ( STIR first).Smooth out the Gum Arabic over the glass until you have covered the glass in the same approximate area of your image.

Now place the image FACEUP on the glass over the gum arabic. With your fingertips (remember your rubber gloves) gently smooth the gum arabic over top of the image until an even layer all over is applied.

With a papertowel remove the excess gum arabic from around the image and the glass.

Place the brayer over the ink and roll in one direction until the brayer has an even coat of Ink. Now carefully roll onto the image until an even coat is ontop of the image.

Take the wet sponge from the container with the gum arabic and squeeze the water over the image – do not touch the image with the sponge – this is the wash out stage. Now with the other smaller container of just water wet the sponge and ring out until damp. Lightly sponge up the excess water from the image and pat dry over top of the image in the white areas – leaving the darkened areas as much as possible.

DO NOT rub the image as the wet paper will tear – GENTLY pat dry.


Step three: Repeat Inking, gumarabic water sponge washing out, patting dry with clean sponge. cleanup arean with papertowel around the image.You should ink and wash out and pat dry – three times.

Step Four: Place image face down onto clay slab.
This is the most difficult part as you must be careful not to rip the wet paper image.

With your fingers or a tool pull up the corner of the image. You only have one chance at this so be careful when placing the image onto the clay. center it carefully. I use a larger slab and just place it in the middle and then cut my clay to size. It is also important that your clay slab is smooth for best results as a clay slab with pit marks or dents will affect your image transfer. Once the image has been placed onto the clay pat down with a clean damp sponge – being careful that the paper does not move on the clay and smudge the ink image. Gently pat removing air bubbles and making sure it is adhered to the clay.

Let dry for about 10 – 20 minutes. With the back of a spoon burnish over the entire area of the image. Once the burnishing is complete you can pull up a corner to see how well your image is transferred – if it needs more burnishing place the corner back down and burnish over the area again. Remove the paper in an upward movement – The paper image must be removed prior to firing in the kiln.I have also noticed the longer it is left to dry on the clay it adheres making it difficult to remove leaving behind paper bits. If this occurs try to remove as much as possible but only leave to dry approximately 20 minutes for best results before burnishing.

I have made a book cover as my sister loves books and I want to make her a journal. I cut the clay to the size and leave to dry before placing in the kiln.

Or watch the video by ceramicsartdaily.org
http://ceramicartsdaily.org/ceramic-supplies/ceramic-colorants-ceramic-supplies-2/photo-lithography-on-clay-a-surprisingly-simple-way-to-print-images-on-clay/

Be patient it took me several trys before I got results that I was happy with and still need some more practice with other mason colors and other projects – plates? inspirational messages on cubes ? sculpture?
– Have FUN!! It is endless what you can do with clay!
Sketchbook Project 2011

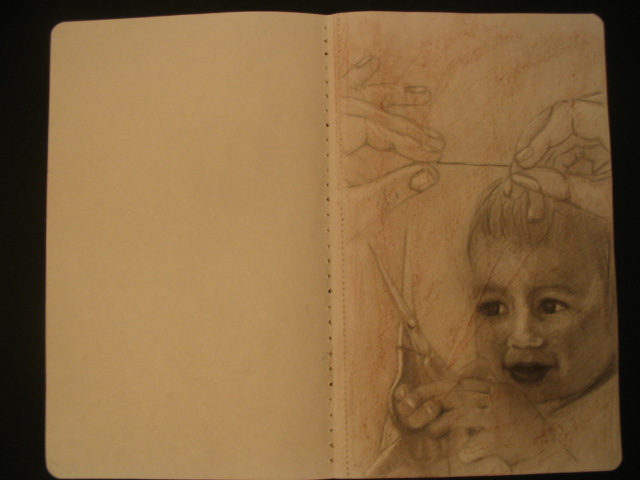
Here is my completed book for the sketchbook project to tour the U.S. in some major cities. I titled my Sketchbook ‘ Figuratively Speaking’. You can view online at arthouse coop as a digitized version here:

http://www.arthousecoop.com/library/3017#page-slide_1

Last but not least – ‘Be You’, ‘Play’, ‘When I grow up I want to be a superhero’, and ‘Write Love notes in the sand’.  Finally my sketchbook project is completed. I can now move onto other projects and my Art tile. I will be publishing my relief tile projects over the next few weeks and sketches before I start the sculptural relief work. Here is the Back and front cover from my painting ‘Carried Away’

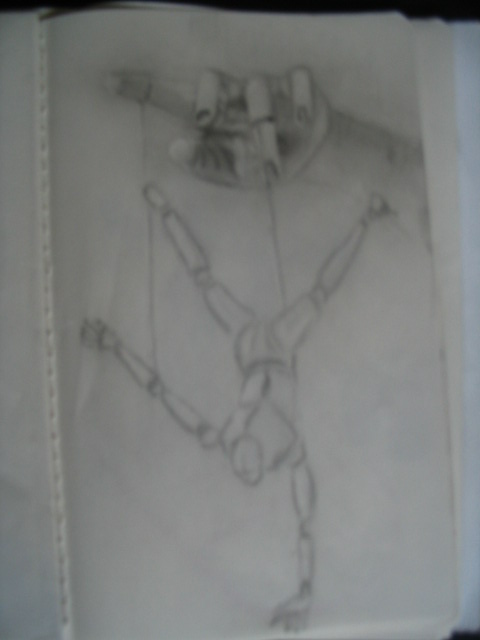
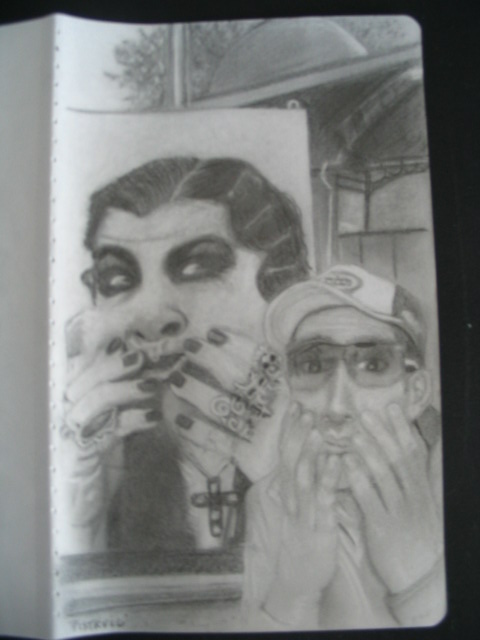
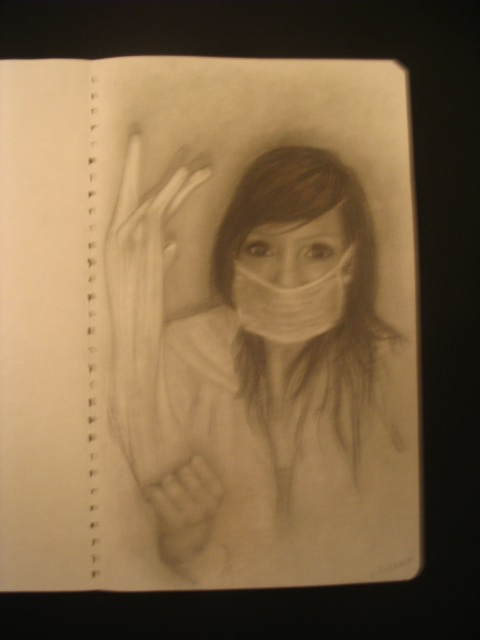
 My latest sketches for ‘Sketchbook project *figuring you out*…..  – The Masks we wear,  Need to be re’ Tire‘ d, Dance with me , Write on Walls and Wabi Sabi – Find beauty in imperfection.

Attempting this project has opened my eyes to the desire of artists to better themselves with every work, every sculpture, every painting. I firmly believe that artists should actively work in the three major artistic areas – DRAW, PAINT, SCULPT.  My drawing has gotten worse, gotten better, improved and gotten worse. where it is now ? it doesn’t matter – what matters is that I continue just for the sake of creating, learning what I have to contribute to art. Here is my sketch for today– for better or worse.

Jump up and down!!

JUMP up and down!!

I have to admit this sketchbook project is alot of work – but I also recognize that my drawing is getting better and faster. I do not draw enough and thus the reason for taking on this project—to coerce myself into drawing. It is working so well worth the effort. For anyone wanting to improve their drawing skills I recommend registering for next year.  Just a piece of advice from my experiences register early. I have less than a month to complete these drawings and although I have not started panicking quite yet I have come to the conclusion december is not the best month to add extra pressure.   And I know I work best under pressure but my drawings may have been better if I had more than one day to complete each one. Who knows? Next year for certain I will be starting earlier.

Here is my sketch for operationbeautiful.com As my book will be on tour in some of the major cities in the U.S. I decided to complete a sketch that will tell everyone that views the sketchbook that they are beautiful. I added the url for the site after I took the picture. It has now been sent to the Brooklyn Arthouse Coop Library.

'Know...You are Beautiful' http://operationbeautiful.com

How are you feeling today??

****Cough**Cough***Negativity is Hazourdous to your SOUL!!
I guess I have to start sometime…My first drawing in my sketchbook. I have designed and pulled it apart.

' I guess I have to start sometime'

Here is a picture of the ‘dummy’ model for the cover

I am so excited I received my Sketchbook in the mail from the sketchbook project.  But here’s the thing the sketchbook is 5.5″ x 8.5″  and MUST stay that size and it has a sticky barcode on the back that cannot be altered or obviously removed. The rules are written out for you and for those of us like me who want to alter the book COMPLETELY I guess I better check out the web page for more instructions BEFORE I start my project.
In the picture is:1. A sketch for an oil painting I am working on
2. My sketchbook from the sketchbook Project
3. Information sheet with the rules ( which are easy to follow but I am already suffering from creative anxiety of how to alter it without altering it).
4. MY VERY OWN Boston library card!!!!
I have some ideas written out for my sketchbook ( I could not sleep last night until I had formulated my plan of attack).  Next I am going to the library to find out from the librarians how they prepare and laminate their book covers.  My theme is ‘ figuring you out’ . I like it already.
somedays you just want to be invisible
!!
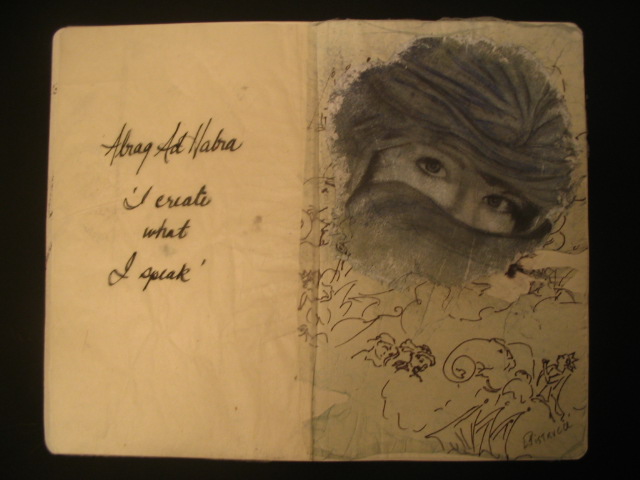
A collage from my drawingsAbraq Ad Habra ” I create what I speak’  –a collage from my drawings

First Day

Imaginary Lines: ‘The glass ceiling’

Cut on dotted line

Glassine  over page with handwritten text